
Free template
Control plan template
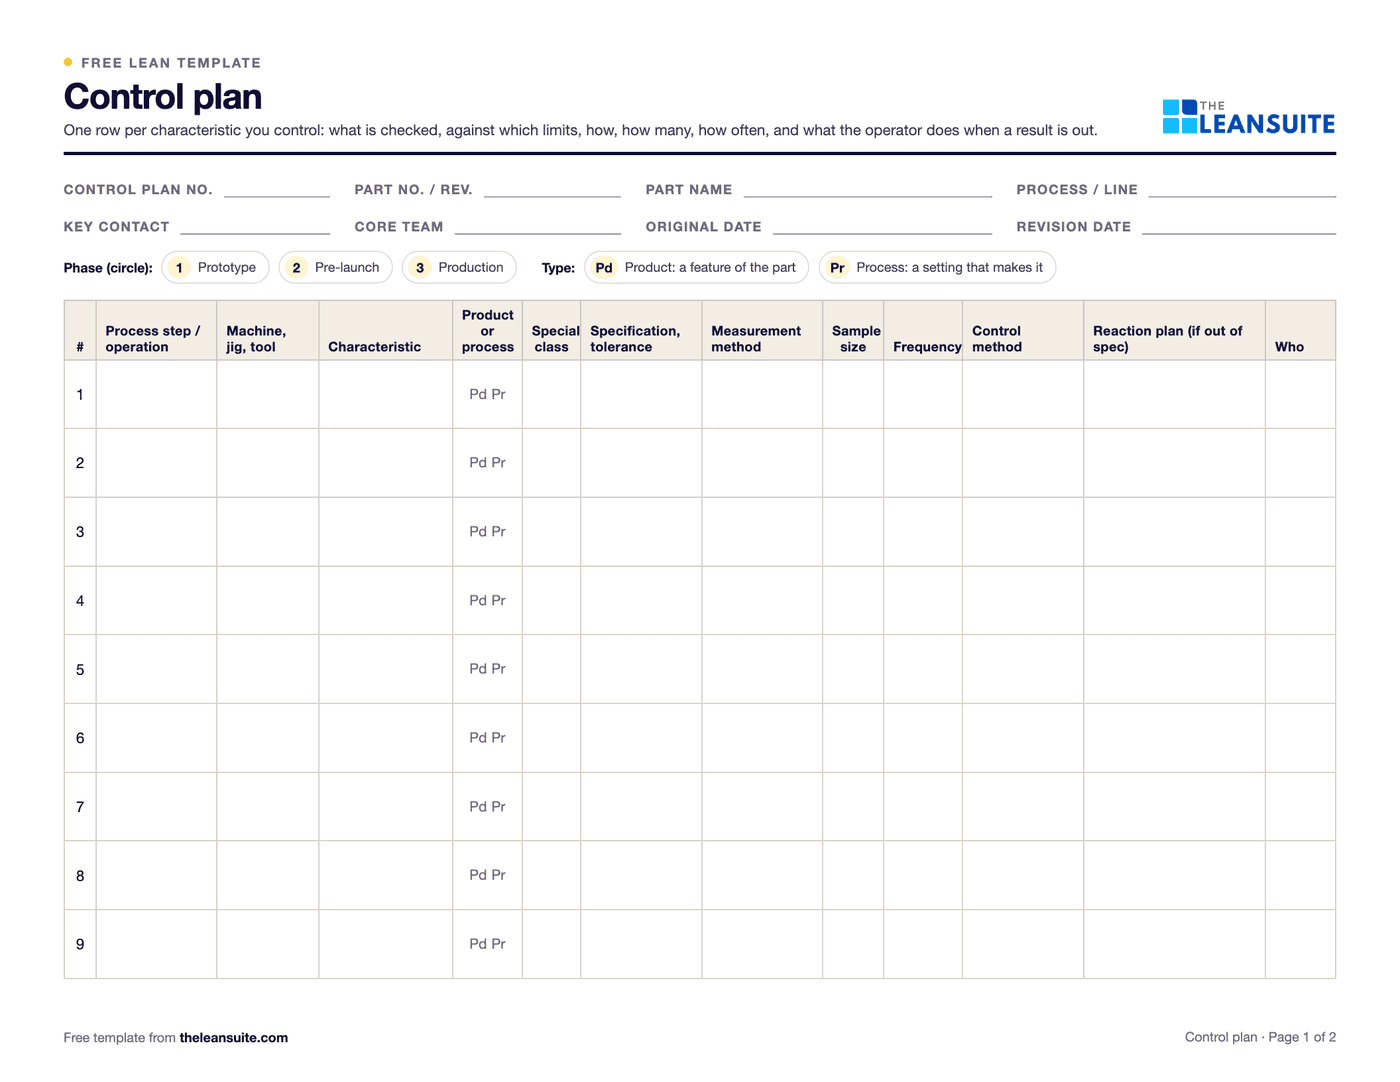
A control plan lists, for each step of a process, the product and process characteristics that are controlled, the specification or tolerance, how each one is measured, how many parts are checked and how often, how the result is recorded and what the operator does when a result is out of specification. It is how the risks found in the process FMEA are kept in check every day. This template has the usual columns, a product or process mark and a special class for each characteristic, and a reaction plan column on every row. Page 2 has more rows, a change log, a checklist before sign-off and approvals.
Free to use: print it, copy it and edit it for your team. Enter your name and work email once to download.
When to use it
When to use a control plan
- For every new part or process before production starts, often as part of a customer's launch requirements.
- When the process FMEA changes, so each high-risk line has a check and a reaction on the floor.
- After a customer complaint, to add or tighten the check that should have caught the problem.
- When operators are unsure what to check, how often, or what to do with a bad result.
- Not as a list of every dimension on the drawing: it covers the characteristics that need controlling in production.
How to fill it in
- 1
Fill in the header
Control plan number, part number and revision, part name, process, key contact, team and dates. Circle the phase: prototype, pre-launch or production.
- 2
List the steps and characteristics
Follow the process flow. For each step, write the characteristics you control and mark each one as a product feature or a process setting. Mark special characteristics with your customer's symbol.
- 3
Give the specification
The limits for each characteristic, from the drawing, the customer or the process sheet, such as 5.20 mm ± 0.05.
- 4
Say how, how many and how often
The measurement method or gauge, the sample size and the frequency. A gauge must be able to measure to the tolerance.
- 5
Say how it is controlled
The control method: a check sheet, an SPC chart, a first-piece check, a poka-yoke or an automatic stop.
- 6
Write a reaction plan for every row
What the operator does when a result is out: stop or adjust, hold the suspect parts made since the last good check, tell someone and restart only after a good check. The Excel version flags rows missing a reaction plan.
- 7
Approve it and keep it current
Sign it off, put the checks into the work instructions and update the plan with the FMEA whenever the process changes.
A filled-in example
Illustrative, not a benchmarkAn example: two rows of a control plan for a hose crimping step.
- Row 1, product characteristic: crimp diameter 5.20 mm ± 0.05. Measured with a micrometer, 5 parts every hour, recorded on a chart at the station.
- Reaction plan: stop the crimper, hold every part made since the last good check, tell the team leader, and restart only after a good first piece.
- Row 2, process characteristic: crimp pressure within the range on the setup sheet. Read from the machine display at every setup and every two hours.
- Reaction plan: reset to the setup sheet, check the diameter on the last 5 parts, and call maintenance if it drifts again in the same shift.
- Both rows come from the process FMEA line for a crimp diameter that is too large, so that high-severity failure mode has a check and a reaction.
Anyone running the crimper can see what to check, how often and what to do when a result is out, without waiting for the engineer.
Common mistakes
Reaction plan: notify supervisor
It leaves the suspect parts in the flow. Say what happens to the process and to every part made since the last good check.
A control plan that does not match the FMEA
High-severity lines in the FMEA need a row here. Update the two together.
A gauge that cannot measure the tolerance
A check with a gauge that is too coarse passes bad parts. Confirm the gauge with a measurement system study where it matters.
Frequencies nobody can keep
A check every 15 minutes on a busy station gets skipped. Set frequencies people can do, and use mistake-proofing where a check is not enough.
Written for the audit, not the operator
If the checks are not in the work instructions and at the station, the plan sits in a folder. Put them where the work is done.
Download the template
Free to use: print it, copy it and edit it for your team. Enter your name and work email once to download.
Run this template in LeanSuite
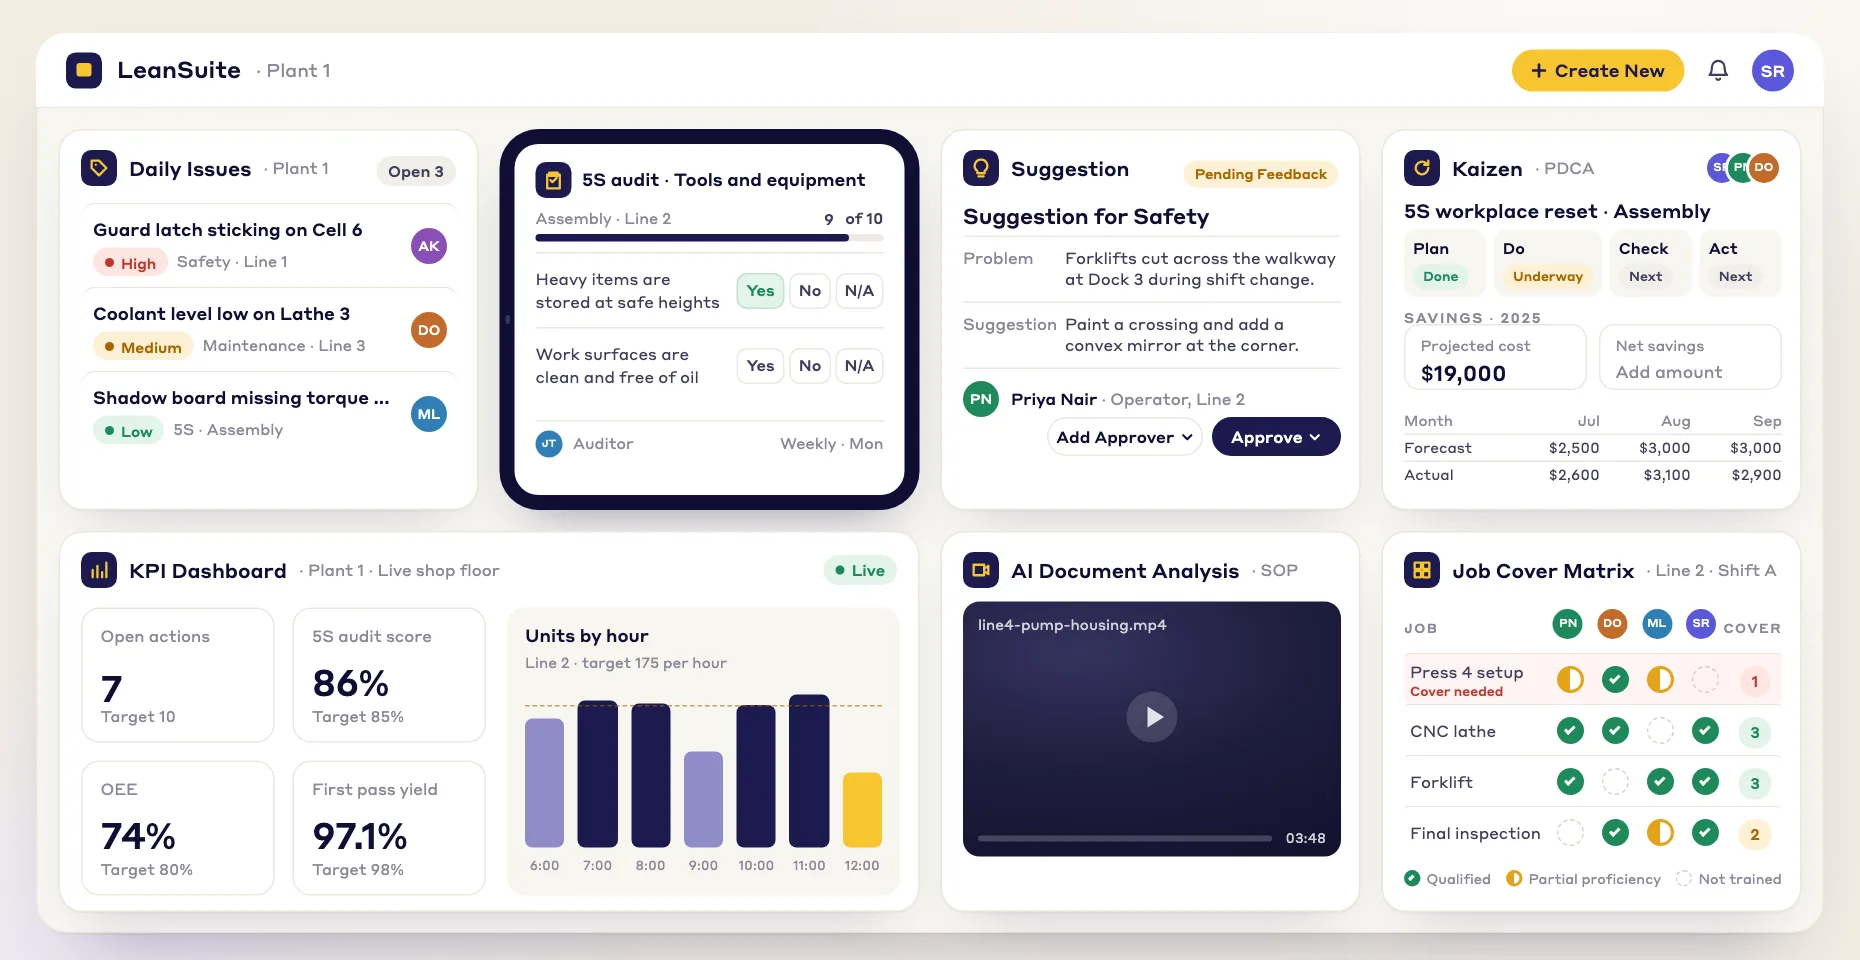
In LeanSuite you run the same quality checks at every stage with number limits, required photos and signatures, and an out-of-spec answer can raise a tag or start a CAPA automatically.
In the lean glossary
Free tools
FAQ
Control plan template: common questions
More free templates
All templates- 5S audit checklist template25 checks, five per S, scored 1 to 5, with a score summary and a chart of the five S's.
- Gemba walk checklistA walk plan and route, 30 prompts in six groups and a findings table with owners and due dates.
- Leader standard work templateA team leader's daily, weekly and monthly routine with a box per day, follow-ups and a weekly review.
- Autonomous maintenance (CILR) checklist20 clean, inspect, lubricate and retighten checks with a box per day, an abnormality log and sign-off.
- A3 problem solving templateThe standard seven-box A3 on one landscape sheet, from background to follow-up.
- PDCA templateOne improvement cycle on one landscape page: plan, do, check against the goal, then standardize or adjust.
- 5 Whys templateA problem statement, five why rows with evidence, the root cause and the countermeasure.
- 5W1H templateSix questions with prompts and evidence, turned into a problem statement before the root cause analysis.
- 8D report templateD0 to D8 on three pages: team, is/is not, containment, occurrence and escape causes, actions and closure.
- Poka-yoke worksheetEach step's possible errors, prevention or detection, the method, a device idea and a verified box.
- Skills matrix templatePeople by skills, a 0 to 4 scale, a training column and a coverage row that shows the gaps.
- Standard work sheet templateTakt time, each element's manual, machine and walk time on a time chart, key points and standard WIP.
- One point lesson (OPL) templateOne topic on one page: wrong way and right way pictures, key points, why it matters and a sign-off record.
- SMED changeover worksheetChangeover steps with times, internal or external, what can move, ideas and before/after totals.
- Kaizen event charter templateScope, team and roles, baseline and target metrics, a five-day schedule, risks and sign-off.
- RACI matrix template17 kaizen project tasks by 10 roles, with R, A, C, I drop-downs and a check for one accountable per task.
- Layered process audit (LPA) checklist20 yes, no or N/A checks at the station, a fixed-on-the-spot box, scores by group and a findings table.
- PFMEA template (process FMEA)Failure modes, effects and causes rated for severity, occurrence and detection, with RPN before and after action.
- 5S red tag log and red tagsA log of every red-tagged item with its decision, and six printable red tags to cut out.
- Shift handover templateProduction against plan, safety, quality, equipment, materials and people, and the open issues the next shift takes over.
- Kanban card templateSix production and six withdrawal kanban cards to print and cut out, with loop sizing and a card register.
- Pareto chart templateA tally sheet, the categories sorted largest first with cumulative %, and the chart. Excel does the sorting and drawing.
- Corrective action request (CAPA) formProblem, containment, root cause, corrective and preventive action, and proof the fix worked, on two pages.
Can't find the template you need?
Tell us what you're looking for. We'll make it and send it to your inbox, free.
A shift handover sheet, a red tag log, a changeover checklist for one machine: if your team uses it on the floor, ask.