
Method guide · 5S and visual management
5S: what it is, the five steps with floor examples, red tags, audit scoring and 6S
Short answer
5S is a five-step method for organizing a work area and keeping it organized: sort, set in order, shine, standardize and sustain. The names come from five Japanese words, seiri, seiton, seiso, seiketsu and shitsuke, and the method is a base of the Toyota Production System and of lean manufacturing.
The first three steps change the area: remove what the job does not need, give every remaining item a marked home, and clean everything while checking it for faults. The last two keep it that way: write the condition down as a standard anyone can check at a glance, and audit against that standard on a schedule so the area does not drift back. Done properly, 5S is less about tidiness than about making a missing tool, a leak or an overfull bin obvious the moment it happens. 6S is the same method with safety added as a sixth step.
Last reviewed:
What is 5S?
5S is a workplace organization method. A team takes one area, a cell, a line, a stores cage, a maintenance shop or an office, and works through five steps in order. Each step is named after a Japanese word that starts with S, and the English versions were chosen to start with S as well, which is where the name comes from.
The aim is not a clean floor for its own sake. A 5S area is one where the normal state is defined and visible, so anything abnormal stands out without anyone having to search. An empty outline on a shadow board says a tool is missing. A bin below its minimum line says reorder. A drip under a machine that is wiped every shift says a seal is going. That is why 5S is often the first lean tool a plant puts in: standard work, visual management and autonomous maintenance all assume the area is already under control.
In lean manufacturing terms, 5S attacks the wastes of motion and waiting (walking and searching for tools, parts and paperwork), the waste of inventory (stock and WIP nobody counted), and defects caused by the wrong tool, the wrong part or a fault no one saw. The free 5S poster puts the five steps and a question for each on the wall.
The 5S steps: seiri, seiton, seiso, seiketsu, shitsuke
The five steps of 5S
- 1Seiri
Sort
Remove what the work does not need - 2Seiton
Set in order
One marked home for each item - 3Seiso
Shine
Clean and inspect - 4Seiketsu
Standardize
Show what good looks like - 5Shitsuke
Sustain
Audit on a schedule, act on gaps
Back to step 1: re-sort each quarter
| Step | Japanese | What the team does | The question to ask in the area |
|---|---|---|---|
| 1. Sort | Seiri | Removes everything the work in this area does not need | Do we need this here, for the work we do now? |
| 2. Set in order | Seiton | Gives every needed item one marked home, closest to where it is used | Can anyone find it, and see at once when it is gone? |
| 3. Shine | Seiso | Cleans the area and the equipment, and inspects while cleaning | What did cleaning show us that is wrong? |
| 4. Standardize | Seiketsu | Writes down and shows what good looks like, and the routine that keeps it | Would a new starter know the standard without asking? |
| 5. Sustain | Shitsuke | Audits against the standard on a schedule and acts on the gaps | Who checks this, how often, and what happens to the findings? |
Some plants use other English words: straighten or set in place for seiton, sweep or shine for seiso, systematize for seiketsu, self-discipline for shitsuke. The steps are the same.
The order matters. Setting in order before sorting means building homes for things that should have gone. Writing a standard before the area has been sorted, set and cleaned writes down the mess. The sections below take one area, an illustrative CNC machining cell with three machines and a deburr bench, through each step.
Sort (seiri) and red tagging
Sort means taking out everything the area does not need for its current work. The test is use, not value: a good fixture for a part the cell stopped making two years ago is clutter, and so is the third spare vise, the box of mixed fasteners, the broken height gauge kept in case, and the pallet of WIP that has sat under the bench since last quarter. Agree the rule before you start, for example: needed here if it is used for the work planned in the next month.
Red tagging is how a team sorts without arguing over every item on the spot. Anything whose need is in doubt gets a red tag and goes to a marked holding area. It stays there for a fixed period while the people who might need it see it. Then someone with the authority to decide makes the call on every tag.
- 1
Set the rules first
Agree the area boundary, the needed rule, the holding area, the review date and who decides. Without a named decider, the holding area becomes a second storeroom.
- 2
Tag everything in doubt
Walk the area as a team: benches, drawers, cabinets, the tops of machines, under everything. One tag per item or batch, numbered, with the item, location, reason and date.
- 3
Move tagged items to the holding area
Out of the work area, into a taped-off space with a sign and the review date. Log each tag so nothing is lost and nothing valuable is thrown out by mistake.
- 4
Decide every tag by the review date
Each item is returned to the area, moved to where it is used, sent to stores, returned to its owner or supplier, sold or scrapped. Record the decision against the tag number.
- 5
Clear the holding area
On the review date the holding area is empty. Anything still there gets decided on the spot by the named decider.
| Decision | Items | Examples |
|---|---|---|
| Returned to the cell | 9 | A torque wrench used on one job a month, two inserts for a part back in the schedule |
| Moved to another area or to stores | 21 | Fixtures for parts run on another line, spare collets, a second set of gauge blocks |
| Returned to the tool crib or the supplier | 6 | Borrowed gauges, unused tooling still in its box |
| Scrapped or sold | 28 | Obsolete fixtures, broken gauges, a seized vise, mixed fasteners, empty containers |
| Total tagged | 64 |
Check the total both ways: 9 + 21 + 6 + 28 = 64, and 64 less the 28 scrapped leaves 36 items kept somewhere, of which only 9 came back to the cell. The numbers are an example, not a benchmark. The free [red tag log](/templates/red-tag-log) has the printable tags and a log that counts the decisions for you.
Two rules keep red tagging honest. Nobody takes a tagged item back without recording it, and the holding period is short enough that the review actually happens. Repeat the sort on a fixed round, for example each quarter, because unneeded items come back.
Set in order (seiton): a place for everything
Set in order gives every item that survived the sort one home, marked so that the right item is easy to take and a missing item is easy to see. Where it goes depends on how often it is used. The closer and more frequent the use, the closer the home.
| How often it is used | Where it lives | In the machining cell |
|---|---|---|
| Every cycle or every part | Within reach at the point of use, no walking | Deburr tools in a holder on the bench, the go/no-go gauge on the machine door |
| Several times a shift | In the cell, in a marked spot | Tool holders on a shadow board between machines 1 and 2 |
| Daily or weekly | In the area, in labelled storage | Spare inserts in a labelled drawer unit with a min and max per slot |
| Monthly or less | Outside the area: stores or the tool crib | Fixtures for low-volume parts, the spare chuck |
The frequency rule is a starting point. Heavy items go at waist height whatever their frequency, and anything needed for safety (spill kit, eyewash, extinguisher) is placed by the hazard, not by frequency.
The tools of set in order are visual: shadow boards with an outline of each tool, labels with a location address on both the item and its home, floor markings for WIP, carts and bins, and min and max lines on consumables. The free shadow board planner lays out a board from the tool list, and the floor marking colour guide sets one colour code for the plant. OSHA's safety colour code, 29 CFR 1910.144, sets red for fire equipment and danger and yellow for caution; the rest of a floor colour scheme is the plant's own standard, so write it down and use it everywhere.
Keep exit routes and the space in front of electrical panels clear when you lay out the area. OSHA requires exit routes to be free and unobstructed (29 CFR 1910.37(a)(3)) and sets working space around electrical equipment in 29 CFR 1910.303(g). Mark those zones on the floor as part of set in order so nothing gets parked in them later.
Shine (seiso): cleaning as inspection
Shine is cleaning the area and the equipment until it is back to its proper condition, and then keeping it there. The part people skip is the reason: cleaning is the closest look anyone gets at a machine. An operator who wipes down a lathe every shift sees the oil weep at a fitting, the cracked guard, the loose bolt and the coolant line rubbing on a sharp edge long before any of them causes a stop.
In the machining cell the first deep clean takes most of a shift. Chips are dug out from under the machines, coolant sumps are skimmed, and every surface is wiped. Along the way the team finds a hydraulic leak at a fitting on machine 2, a missing chip guard on machine 3 and a cracked light lens over the deburr bench. Each one gets a tag and a line on the maintenance list. That list is the real output of the first shine.
After the deep clean, set the routine: what gets cleaned, by whom, with what, and how long it takes. For the cell that might be 10 minutes at the end of each shift for chips, coolant and surfaces, and a weekly wipe of the electrical cabinet doors and lights. Put the cleaning kit at the point of use, inside the set-in-order layout. Then go after the sources: a chip guard that keeps chips off the floor beats sweeping them up every shift. Shine is where 5S meets autonomous maintenance and clean, inspect, lubricate, retighten.
Standardize (seiketsu): make the standard visible
Standardize turns the first three steps into a written, visible standard so the area does not depend on the people who did the event. The test of a good 5S standard is that a new starter, or a supervisor from another area, can tell at a glance whether the area is right or wrong.
- A one-page area standard with photos of the area as it should look: each bench, the shadow board, the WIP marks, under the machines.
- A 5S map of the area showing every home, every floor zone and the holding spot for red tags.
- The cleaning routine from shine, with who, what, when and how long, on a sheet the operators sign or tick each shift.
- Visual controls that show abnormal conditions: outlines on the shadow board, min and max lines on bins, labels on every drawer and shelf.
- The rule for anything new: a new tool or fixture gets a home, a label and a place on the map before it enters the area.
Keep the standard short and in pictures: nobody reads three pages of text about a bench. Put it on the area's board next to the audit scores, and update it when the work changes, for example when a new part or machine arrives. The visual management audit checklist checks whether the visual controls themselves still work.
Sustain (shitsuke): how 5S stops sliding back
Sustain is the step that decides whether 5S lasts. Most areas look excellent the week after a 5S event and drift back over the following months: a tool not returned, a pallet left in an aisle, a cleaning tick skipped on a busy shift. Sustain is the habit and the management routine that catch that drift early and correct it.
- A scored audit on a fixed schedule: weekly by the area team, monthly by someone from outside the area, using the same checklist every time.
- A score that is posted in the area with its trend, so the team sees the direction, not only the number.
- An action for every low score, with an owner and a due date, checked at the next audit.
- A leader who looks at the area on their own standard work and asks about gaps, not only on audit day.
- A short review of the 5S score in the daily or weekly huddle, so the topic stays on the agenda.
- Training for new starters on the area standard, and a fresh red-tag sort each quarter.
The audit is the engine. 5S audits in manufacturing covers how to run one, and the next section works through a score.
5S audit scoring: a worked example
A common scoring scheme uses five checks per S, 25 in all, each scored from 1 (not in place) to 5 (fully in place and holding). Each S is out of 25 and the total is out of 125. This is the scheme used by the free 5S audit checklist, and the scores below are an illustrative first audit of the machining cell, four weeks after its 5S event.
| S | Score out of 25 | Main finding |
|---|---|---|
| Sort | 22 | Two fixtures for a finished job back under the bench |
| Set in order | 18 | Three tools missing from the shadow board, WIP standing outside its marked square |
| Shine | 13 | Chips under machine 2, cleaning sheet ticked on 6 of 15 shifts |
| Standardize | 15 | Area photo standard posted but does not show the new drawer unit |
| Sustain | 12 | Four of last month's seven actions still open, no audit done in week 2 |
| Total | 80 of 125 | 64% |
Check the arithmetic both ways: 22 + 18 + 13 + 15 + 12 = 80, and 80 / 125 = 0.64, so 64%. Working back, 64% of 125 is 80.
The first audit by S: 80 of 125, or 64%
Example numbers- Sort22 of 25
- Set in order18 of 25
- Shine13 of 25
- Standardize15 of 25
- SustainLowest12 of 25
Look inside the lowest scores before deciding what to fix. Shine scored 13 from five checks: floor free of chips and coolant 2, machines wiped and leaks tagged 3, cleaning sheet signed every shift 2, cleaning kit at point of use 4, lights and inspection points clean 2. That is 2 + 3 + 2 + 4 + 2 = 13. The pattern says the routine is not happening, not that the team lacks the tools. Sustain scored lowest at 12, which points to the audit and action loop itself.
So the actions are: a chip guard for machine 2 (fix the source), the cleaning check moved into the end-of-shift handover so it is signed in front of the incoming lead, the four open actions closed or reassigned in the next huddle, and the audit day fixed in the supervisor's calendar. Four weeks later the illustrative re-audit reads Sort 22, Set in order 20, Shine 19, Standardize 17, Sustain 16: 22 + 20 + 19 + 17 + 16 = 94 of 125, which is 75.2% (94 / 125 = 0.752).
Three rules make scores comparable between areas and over time: walk the area every time instead of scoring from memory, use the written scale for what a 1, a 3 and a 5 look like, and now and then have two auditors score the same area to agree how strict to be. The office 5S audit checklist applies the same scheme to desks, shared drives and meeting rooms.
5S vs 6S: adding safety
6S, sometimes called 5S plus safety, adds safety as a sixth step after the original five. The idea is to look at the area for hazards as deliberately as for clutter: pinch points, trip hazards, missing guards, blocked exits, chemicals out of place, poor lighting. The audit gets a sixth set of checks for them.
| 5S | 6S | |
|---|---|---|
| Steps | Sort, set in order, shine, standardize, sustain | The same five plus safety |
| Where safety sits | Inside each step: hazards removed in sort, safe homes in set in order, faults found in shine | A step of its own with its own checks and owner |
| Audit | Five sections, for example 25 checks out of 125 | Six sections, for example 30 checks out of 150 |
| Best fit | Areas where the safety program already has its own inspections | Areas where hazards are the main concern, or where 5S is the only routine walk |
Some plants go further to 7S, adding a step such as security or spirit. The name matters less than whether each added step has its own checks and someone who owns the findings.
The common objection to 6S is that safety is not a step you reach after sustain, it is part of every step. Both views work in practice if the hazards actually get checked. Housekeeping is also a legal duty, not an option: OSHA's walking-working surfaces standard, 29 CFR 1910.22(a), requires workplaces, passageways and storerooms to be kept clean, orderly and sanitary, and floors kept free of hazards such as spills and protruding objects. A 5S or 6S audit is a practical way to show that is being done. For hazards beyond housekeeping, see unsafe acts and unsafe conditions.
Where 5S came from
5S grew out of Japanese manufacturing practice, most closely the Toyota Production System, where an orderly workplace was a condition for standard work, pull and visual control. It reached Western plants mainly through two books: Takashi Osada's The 5S's: Five Keys to a Total Quality Environment (Asian Productivity Organization, 1991) and Hiroyuki Hirano's 5 Pillars of the Visual Workplace (English edition, Productivity Press, 1995). Hirano's book in particular set out the five steps with the implementation detail, red tags and visual controls included, that most 5S programs still follow.
The Japanese words carry more than the English labels suggest. Seiri and seiton are about deciding and arranging, seiso is cleaning, seiketsu is a state of cleanliness kept up, and shitsuke is discipline in the sense of training and habit. The last one is why sustain is about how people work, not only about the area. See Japanese lean terms for the wider vocabulary.
How to start 5S in one area
Start with one area that has a visible problem and a supervisor who wants to fix it, not the whole plant. A pilot area that holds its score for three months is worth more than ten areas that were cleaned once.
- 1
Pick the area and take before photos
Fixed spots, so the after photos can be taken from the same place. Note how long it takes to find a few common tools today.
- 2
Train the team on the shop floor
Half an hour on the five steps and the red-tag rules, in the area, with the people who work there. The free 5S training deck covers it.
- 3
Run sort, set in order and shine as an event
One to three shifts with the area team and a facilitator. Red tag, lay out, deep clean, and list every fault found.
- 4
Write the standard before the event ends
Take the after photos, draw the 5S map, write the cleaning routine and post them in the area.
- 5
Book the audits and the first review
Weekly team audits and a monthly outside audit go in the calendar the same day. Review the score and the open actions in the area huddle.
- 6
Spread to the next area
Only when the pilot area has held for a few months. Use its standard, map and audit as the model for the next one.
5S implementation in 6 steps covers a rollout across several areas, and 5S before and after shows what changes on the floor. For one area at a time with a fixed 90-day plan, the model area guide shows how 5S fits the first weeks.
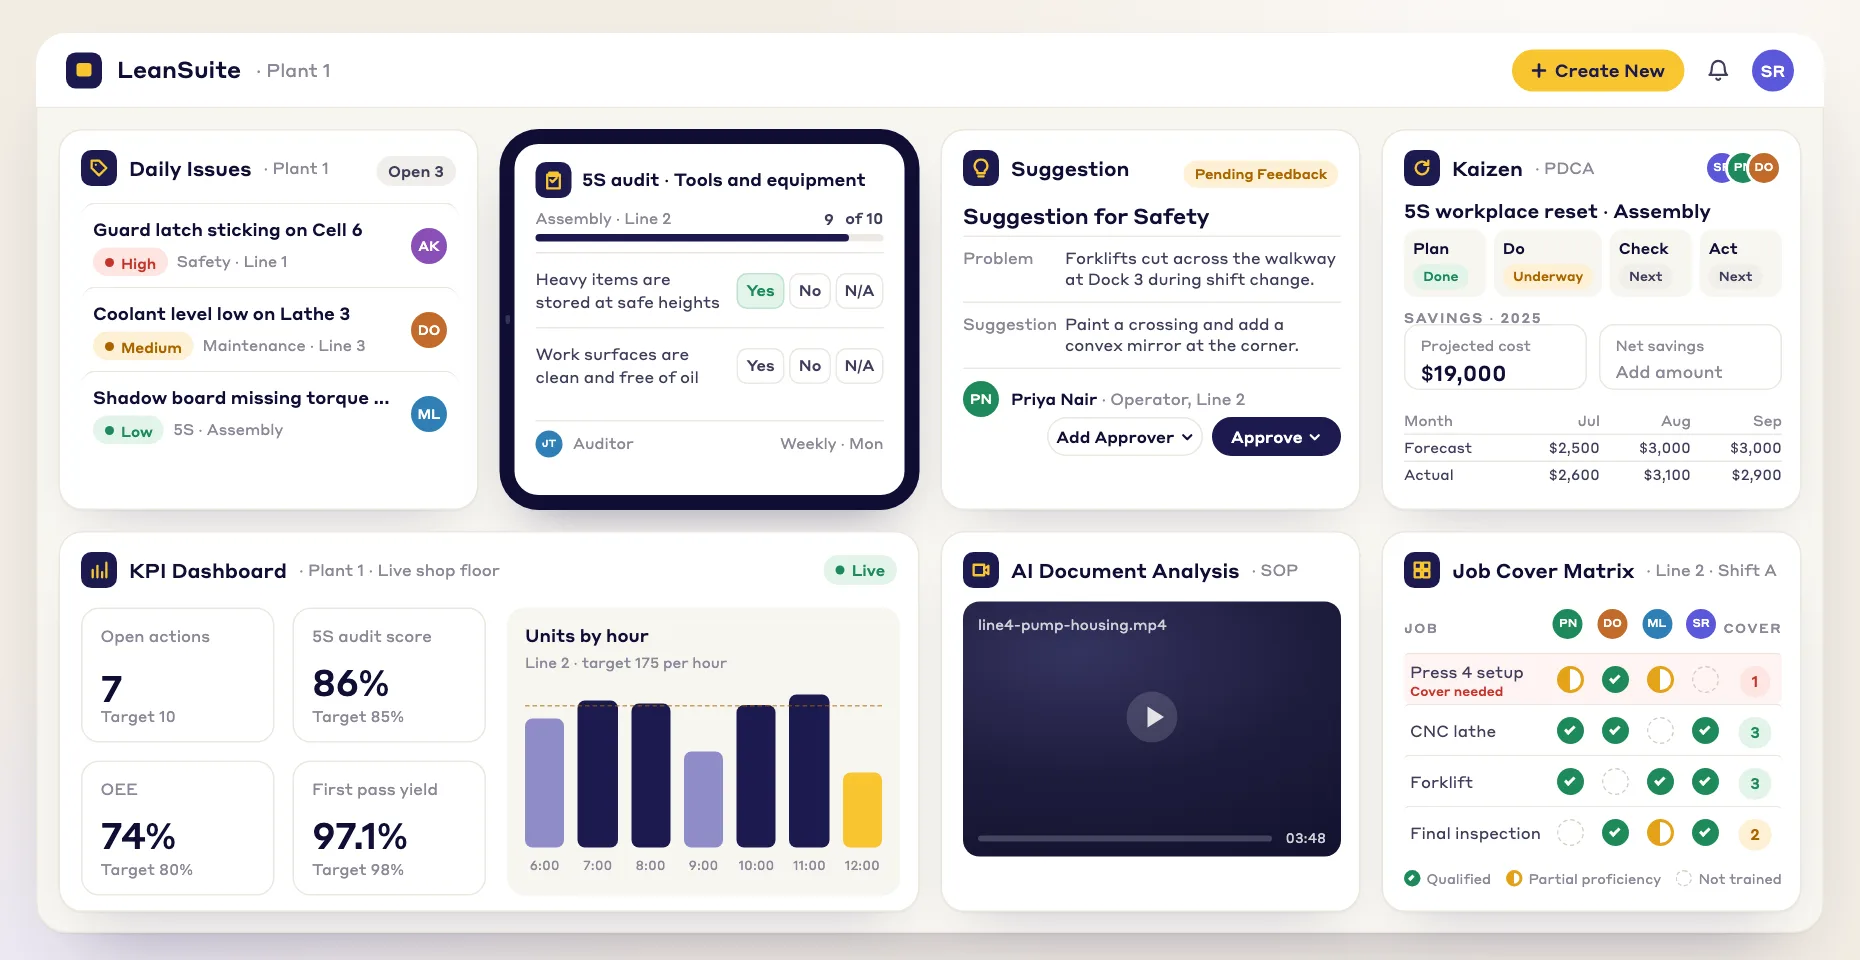
LeanSuite's 5S module puts the scored checklist on a tablet, asks for a photo for each check, turns every failed line into an action with an owner and a due date, shows scores by area, and schedules the audits so they happen every week, not only before a visit.
Common 5S mistakes
- Treating 5S as a cleanup day. Without standardize and sustain the area is back where it started in a few weeks, and the team learns that 5S is something done to them before a visit.
- Skipping sort. Labelling and shadow-boarding everything that is in the area today builds homes for clutter.
- Doing it for the area instead of with it. Engineers or a contractor setting up the cell over a weekend produces a layout the operators did not choose and will not keep.
- Cleaning without inspecting. Wiping a machine and not tagging the leak behind the dirt misses the main benefit of shine.
- Auditing without acting. A score with no findings, owners or due dates changes nothing, and the score stops meaning anything.
- Judging teams on the score alone. Areas tidy up for audit day. Track open and closed actions as well as the number.
- Starting plant-wide. Ten areas at once spreads the facilitators thin and none of them holds.
5S Audit Software
Run 5S audits in LeanSuite
5S audit software puts the scored 5S checklist on a tablet, requires a photo for each check, turns every failed line into an action with an owner and due date, and shows scores by area.
Go deeper
This page is the short version. These guides cover each part in full.
- 5S Implementation in 6 Steps: From Pilot Area to AuditsRolling 5S out from a pilot area across a plant, with roles and a timeline.
- 5S Audits: Conducting Effective Workplace ReviewsRunning 5S audits: who audits, how often, and how to turn findings into actions.
- 5S Before and After: Real Examples With Measured ResultsBefore and after examples from different kinds of work area, and what was measured.
- Visual Management in Lean Manufacturing: Complete OverviewThe visual controls that build on 5S, from shadow boards to andon and status boards.
All our articles on this subject are in the 5s and visual management topic.
Free templates and tools
- 5S audit checklist template25 checks, five per S, scored 1 to 5, with a score summary and a chart of the five S's.
- 5S red tag log and red tagsA log of every red-tagged item with its decision, and six printable red tags to cut out.
- Office 5S audit checklist25 checks written for offices and shared areas, five per S, scored 1 to 5, with a score summary and actions.
- Shadow board plannerTool inventory with fetch time, a layout planned from each tool's outline size, a month of daily checks with 5S audit evidence, and a missing tool log.
- Floor marking color guideA floor marking color standard with swatches, marks and line widths to fill in, and a floor marking check with a layout sketch.
- Visual management audit checklist29 checks of whether anyone can tell normal from abnormal at a glance, scored by group, with a trend and actions.
Doing this in LeanSuite
5S
Keeps 5S standards in place after the walkthrough, with photo-verified audits, automatic corrective actions and live score dashboards.
See 5SAudit Management
Build, schedule and act on any shop floor audit, from gemba walks to 5S and layered process audits, and turn every finding into a tracked improvement.
See Audit ManagementDaily Issue Management
Gives frontline teams one place to flag, track and resolve issues in real time, so the same fires stop coming back every week.
See Daily Issue Management
Open this board in LeanSuite
The 5S audit board is one of the 30 ready-made boards in Lean Studio, LeanSuite's whiteboard. Try the interactive demo in your browser with sample data, or pilot LeanSuite on your own lines for 90 days, with the setup done by our team.
What Lean Studio isFAQ
Questions about 5S
5S is a five-step method for organizing a work area and keeping it organized: sort, set in order, shine, standardize and sustain. The team removes what the work does not need, gives every needed item a marked home, cleans and inspects, writes down the standard, and audits against it on a schedule.
Sort is seiri, set in order is seiton, shine is seiso, standardize is seiketsu and sustain is shitsuke. The English words were chosen so each also starts with S. Some plants use straighten for seiton, sweep for seiso, systematize for seiketsu and self-discipline for shitsuke.
In a machining cell the team red tags 64 items it is unsure about and keeps only 9 of them in the cell, hangs the tools on a shadow board next to the machines, deep cleans and finds a hydraulic leak, posts a photo standard and a 10-minute end-of-shift cleaning routine, and audits the cell weekly. The numbers are an example.
Red tagging is how the sort step is done. Any item whose need in the area is in doubt gets a numbered red tag and goes to a holding area for a fixed period. By the review date a named person decides each one: keep it in the area, move it, send it to stores, return it, or scrap it.
A common scheme has five checks per S, each scored 1 to 5, so each S is out of 25 and the total is out of 125. For example 22 + 18 + 13 + 15 + 12 = 80 of 125, or 64%. The lowest S shows where to act first, and every low score gets an action with an owner and a due date.
Weekly by the team that works in the area is common, with a monthly audit by someone from outside the area to keep the scoring honest. What matters most is a fixed schedule, the same checklist each time, and actions that are checked at the next audit.
6S is 5S with safety added as a sixth step, so the area is checked for hazards as well as clutter, and the audit has a sixth section. Some practitioners prefer to keep 5S and build the safety checks into each step instead. Both work if hazards are actually checked and fixed.
5S comes from Japanese manufacturing practice, most closely the Toyota Production System. It spread to Western plants through Takashi Osada's The 5S's: Five Keys to a Total Quality Environment (1991) and Hiroyuki Hirano's 5 Pillars of the Visual Workplace (English edition 1995).
Usually because it is run as a one-off cleanup. Without a written standard, a fixed audit schedule and actions that get closed, the area drifts back within weeks. Other causes are skipping the sort step, setting up the area without the people who work in it, and starting in too many areas at once.
Yes. 5S is one of the basic lean tools and usually one of the first a plant puts in, because standard work, visual management, pull systems and autonomous maintenance all depend on an orderly, visible workplace. It removes waste from searching, walking, excess stock and defects caused by the wrong tool or part.
Related guides and tools
- 5S poster: the five steps with a question for each, as a free printable PDF
- 5S audit checklist: 25 scored checks out of 125, with a score summary, in PDF and Excel
- Red tag log: printable red tags and a log of every decision
- 5S training deck: teach the five steps to an area team in half an hour
- Best 5S audit software: how the tools compare for running audits on a tablet
More method guides
- The 6 Ms of production
- Poka-yoke
- Model area 90-day plans
- Moving from Excel to one system
- Reducing machine downtime: a worked month
- Andon
- Cycle time vs lead time, worked through
- Root cause analysis
- How many operators a line needs
- Reducing scrap and rework: a worked month
- Unsafe acts and unsafe conditions
- Just culture
- Stop-work authority
- Material review board (MRB)
- Nonconformance and NCRs
- Problem solving methods
- Quad chart
- OEE calculation
- Quality assurance vs quality control
- SOP meaning and format
- Job hazard analysis
- Near miss reporting
- Fishbone diagram
- Pareto chart
- Histogram
- Control chart
- What is a gemba walk
- What is lead time
- What is operational excellence
- How to improve product quality
- Preventive vs predictive maintenance
- Kanban
- FMEA
- PDSA cycle
- Safety moments
- Just-in-time manufacturing
- Kaizen
- Total quality management (TQM)
- CAPA (corrective and preventive action)
- Layered process audit (LPA)
- Lean tools
- Lockout tagout (LOTO)
- A3 problem solving
- Preventive maintenance
- APQP
- High reliability organization (HRO)
- Manufacturing KPIs
- Quality metrics
- Practical problem solving
- CMMS
- Risk assessment
- Production efficiency
- Total productive maintenance (TPM)
- Reliability-centered maintenance (RCM)
Or browse the topics, the full library and the lean glossary.
Rather see it on your own problem?
Bring the problem you are stuck on, and we will show you on a call how LeanSuite handles it.